The “Insert” menu in docu2.me allows you to add various elements to your document, enriching its content and enhancing the presentation of information.
1 – Insert Image
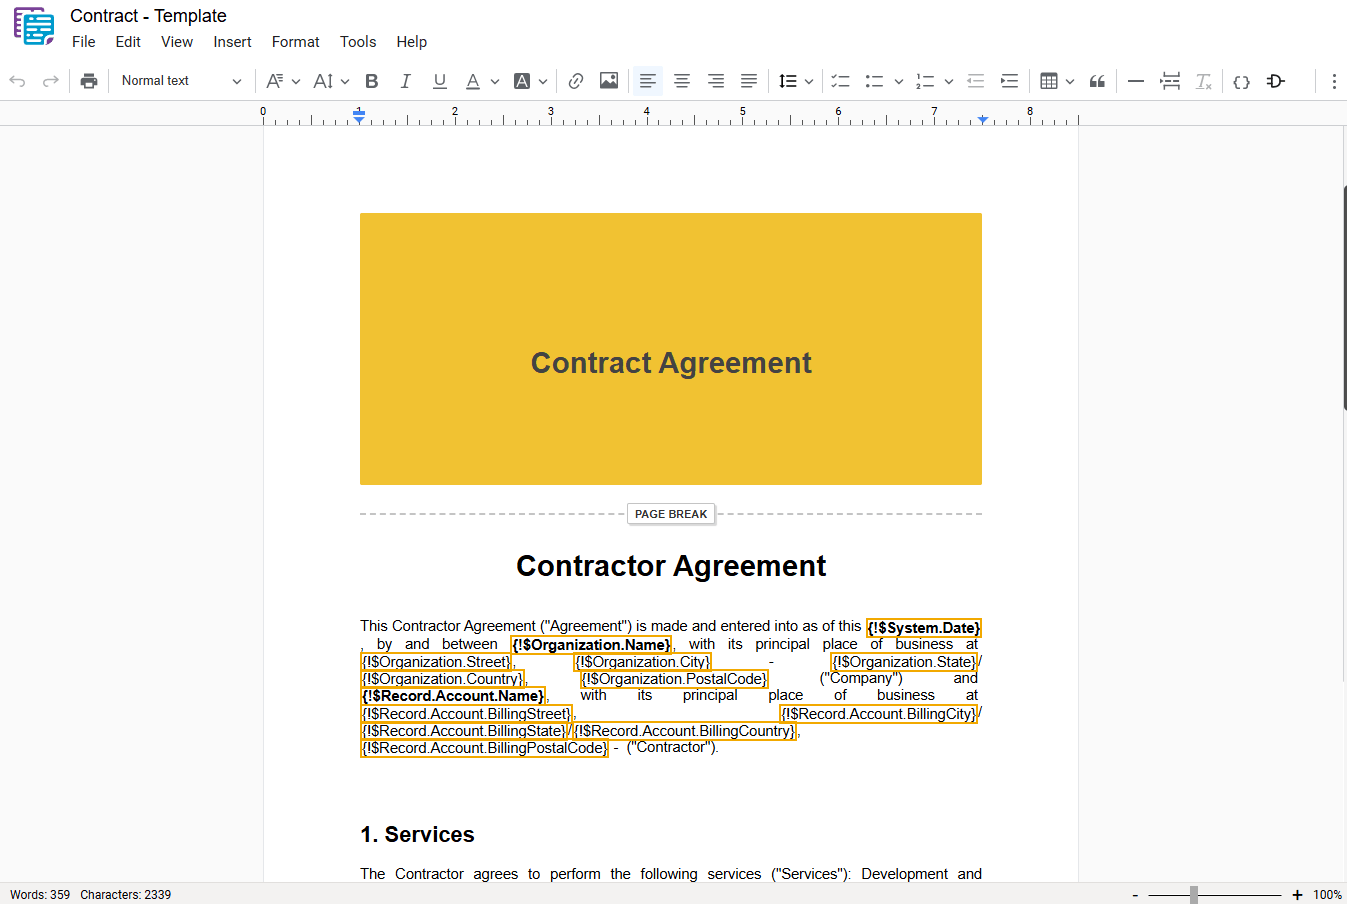
Allows you to add images to your document from your computer or the Salesforce media library. You can upload images from your computer or select images from the Salesforce file gallery. Additionally, you can select multiple images from the gallery and add them to the document at once.
- Menu: Access the main menu.
- Insert: Click on “Insert“.
- Insert Image: In the dropdown menu, select “Insert image“.
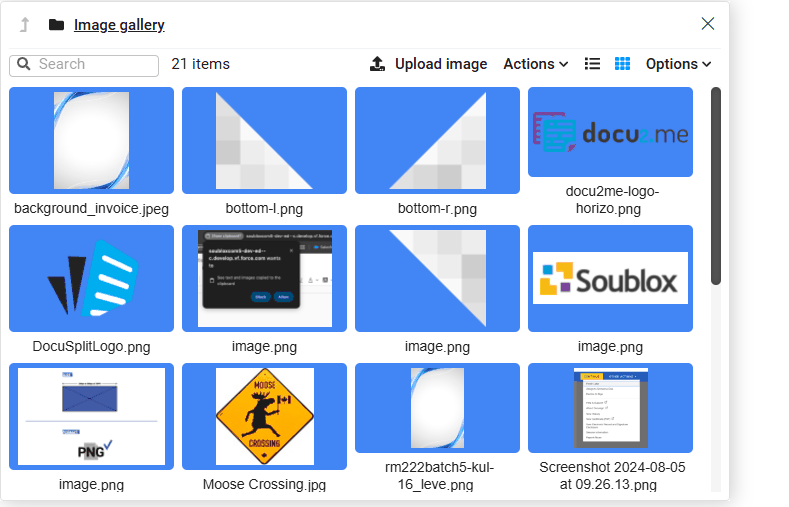
- This image gallery facilitates access and management of your images within Salesforce, allowing you to use them in your docu2.me documents.
Gallery Features:
Visualization:
Image Gallery: Displays images as thumbnails, allowing quick and easy viewing.
- Search: Quickly find images by file name or extension.
- Number Items: Shows the total number of images in the gallery and the number of selected images.
- Upload Image: Upload new images from your device to the Salesforce gallery.
Actions: Access options to manipulate images within docu2.me (details below).
- Open Selection: Open selected images in a new window for detailed viewing.
- Select all files: Select all images in the gallery at once.
- Clear Selection: Deselect all selected images.
View: List or grid view of images
- List: Shows images in list format with detailed information for each file, such as name, size, and date.
- Grid: Presents images in a grid format, ideal for viewing multiple images simultaneously.
Options:
- Sort by name: Sort images in ascending or descending alphabetical order.
- Sort by size: Sort images by size, from smallest to largest or vice versa.
- Sort by date: Sort images by modification date, from oldest to newest or vice versa.
Actions within docu2.me: Image Editing
After inserting an image into your document, you’ll have the following editing options:
- Change Image Alternative Text: Add a description to the image for accessibility purposes. This text will not be displayed in the document, but will help people with visual impairments understand the image content.
Alignment (In line, Centered Image, Side Image): Define the alignment of the image in the document:
- In line: Aligns the image with the text.
- Centered Image: Centers the image on the page.
- Side Image: Positions the image to the left or right of the text.
- Replace Image from computer: Replace the inserted image with another from your device.
2 – Table
The table functionality offers tools to create and edit tables. Tables are great for organizing data in a clear and visually appealing way.
- Menu: Access the main menu.
- Insert: Click on “Insert“.
- Table: In the dropdown menu, select “Table“.
- After inserting the table, click inside it to open the toolbar.
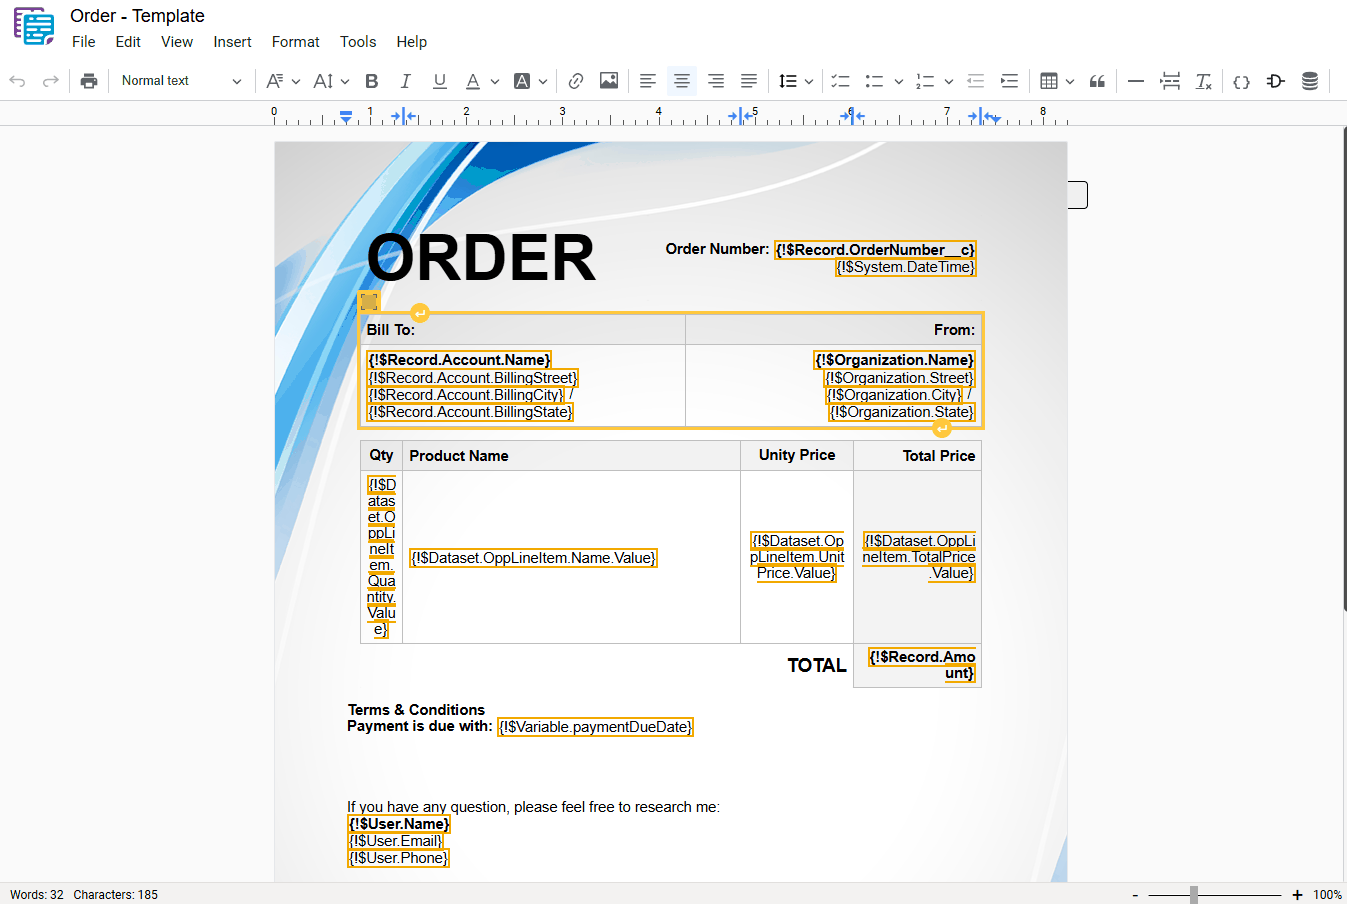
Table Toolbar:
- The toolbar allows you to add or remove columns and rows, merge or split cells, and change the properties of the table or individual cells.
Example of Functionality:
- Merge cell: Allows you to combine adjacent cells into a single cell. You can merge up, right, down, or left.
Table and Cell Properties:
- The “Table properties” and “Cell properties” options allow you to customize the appearance of the table and cells, including borders, colors, dimensions, alignment, and padding.
Tip: To control the width of a column, click and drag its border.
3 – Horizontal Line
The Horizontal Line functionality allows you to visually divide your content into sections by inserting horizontal lines (also known as horizontal rules). It’s an easy way to organize content or indicate a topic change.
- Menu: Access the main menu.
- Insert: Click on “Insert“.
- Horizontal Line: In the dropdown menu, select “Horizontal line“.
4 – Dynamic Fields
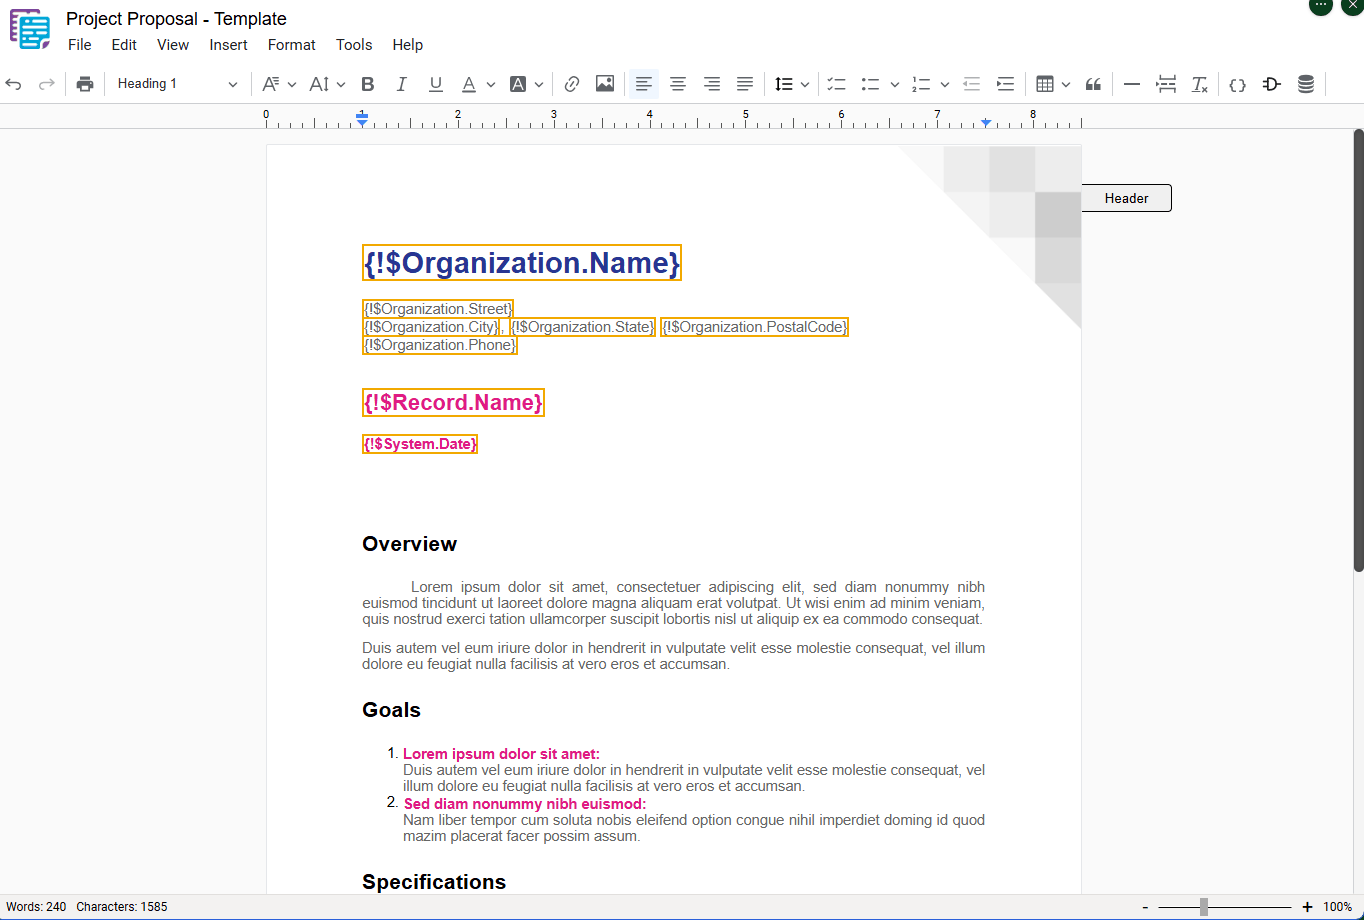
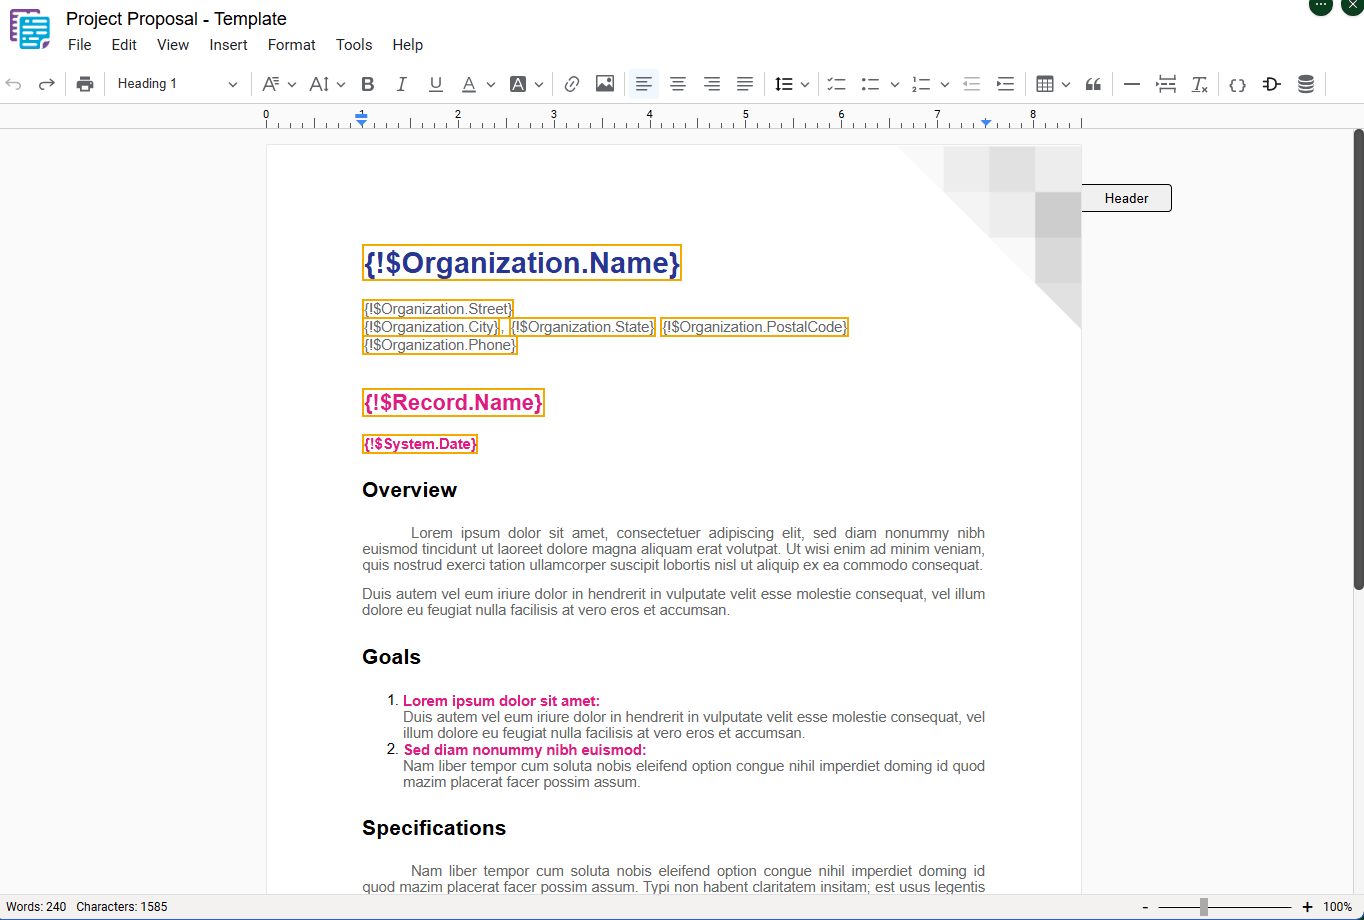
Dynamic Fields are used to insert dynamic fields into documents, populating them with Salesforce data automatically and in a personalized way.
By using Dynamic Fields, you can select a Salesforce object, which can be a standard, custom, or default object, and choose a global resource variable. This allows you to add dynamic fields that can be populated with data from the docu2.me document being edited, custom labels, records from the selected object, organization information, user information, profile, roles, or Salesforce system information.
Dynamic fields make the document adaptable and dynamic, bringing the necessary information through formula fields linked to the text. This ensures that each new document generated contains updated and relevant information, improving the accuracy and personalization of the documents created.
- Menu: Access the main menu.
- Insert: Click on “Insert“.
- Dynamic Fields: In the dropdown menu, select “Dynamic fields“.
- Shortcut key: Ctrl+Alt+Shift+D or Option+⌘+Shift+D

Insert dynamic fields with Salesforce data! Customize your documents with updated information from objects, users, and the system.
5 – Filter Block
Filter Block is a powerful tool for filtering information from object fields in Salesforce.
It allows you to select an object and choose specific fields, applying filters to refine the data you want to use. With Filter Block, you can use variables, custom labels, data from the record of the selected object, information from the organization, user, profile, roles, or Salesforce system itself. Filtering conditions can be configured using logical operators such as AND and OR, allowing you to bring specific results related to the records of the chosen object. This makes it easy to customize the data that will be inserted into documents, ensuring that only relevant information is included.
- Menu: Access the main menu.
- Insert: Click on “Insert“.
- Filter Block: In the dropdown menu, select “Filter block“.
- Shortcut key: Ctrl+Alt+Shift+F or Option+⌘+Shift+F
Filter Salesforce data with Filter Block! Select objects and fields, apply filters, and customize the information in your documents.
6 – Resource Manager
Resource Manager allows you to create and manage global resources available for use in documents. These resources can be a combination of Callables, Datasets, and Variables, and can be used in Dynamic Fields.
These resources serve as interfaces for data access and processing in Salesforce, allowing the extraction of information in a structured and controlled way. The Resource Manager is particularly useful for creating complex documents that require multiple data sources and calculations. It provides a centralized way to manage all the resources needed for document templates. This feature simplifies the use of these types of resources in documents, according to the need for data, making the document creation process more efficient and personalized.

- Menu: Access the main menu.
- Insert: Click on “Insert“.
- Resource Manager: In the dropdown menu, select “Resource Manager“.
- Shortcut key: Ctrl+Alt+Shift+R or Option+⌘+Shift+R
Manage resources and data with Resource Manager! Use Callables, Datasets and Variables to create dynamic documents in Salesforce.
7 – Special Characters
The special characters functionality allows you to insert mathematical operators, currency symbols, punctuation, graphic symbols (such as arrows or bullets), or Unicode letters not normally accessible via the keyboard (such as umlauts or other diacritics). The feature also supports emojis.
- Menu: Access the main menu.
- Insert: Click on “Insert“.
- Special Characters: In the dropdown menu, select “Special characters“.

8 – Watermark
Allows you to insert a watermark into documents, where you can upload an image according to the image file extensions supported by docu2.me. You can adjust the scale, rotation, brightness, contrast, and transparency, and then define where it will be displayed in the document.
- Menu: Access the main menu.
- Insert: Click on “Insert“.
- Watermark: In the dropdown menu, select “Watermark“.

9 – Header & Footer
Allows you to insert a header or footer in the document.
- Menu: Access the main menu.
- Insert: Click on “Insert“.
- Header & Footer: In the dropdown menu, hover over “Header & footer“.
Manipulating Header and Footer
- Same across the Entire Document: Choosing this option will give you the same header for the entire document.
- Different First Page: This option allows you to have a specific header only for the first page of the document. The other pages of the document will have a single header.
- Different Even & Odd Pages: This option allows you to have two header options, one for even pages and one for odd pages.
- Different First, Even & Odd Pages: If you require a separate header for the first page and then alternate headers, this option is for you. It allows you to have a special header for the first page and then you can alternate between two headers on the other pages.
- Remove Headers & Footers: Click the tab on the right of the document to open the header. You can also click on insert and select Header & Footer. Once the header is open, click and select Options. Under Options, you can delete page numbers if any, and also headers & footers. Click on and select Remove Headers & Footers.
9.1 – Header
Inserts a header into the document.
- Header: In the dropdown menu, select “Header“.
9.2 – Footer
Inserts a footer into the document.
- Footer: In the dropdown menu, select “Footer“.
9.3 – Remove Headers & Footers
Removes the header and footer from the document.
- Remove Headers & Footers: In the dropdown menu, select “Remove Headers & Footers“.
10 – Page Numbers
Allows you to insert page numbers into the document.
- Menu: Access the main menu.
- Insert: Click on “Insert“.
- Page Numbers: In the dropdown menu, hover over “Page numbers“.
10.1 – Top Left
Inserts the numbering in the upper left corner of the page.
- Top Left: In the dropdown menu, select “Top Left“.
10.2 – Top Right
Inserts the numbering in the upper right corner of the page.
- Top Right: In the dropdown menu, select “Top Right“.
10.3 – Bottom Left
Inserts the numbering in the lower left corner of the page.
- Bottom Left: In the dropdown menu, select “Bottom Left“.
10.4 – Bottom Right
Inserts the numbering in the lower right corner of the page.
- Bottom Right: In the dropdown menu, select “Bottom Right“.
10.5 – Page Count
Inserts the total page count in the document.
- Page Count: In the dropdown menu, select “Page count“.
11 – Page Break
The page break functionality allows you to insert page breaks into your content. This gives you more control over the final structure of a document that is printed or exported to PDF or Word.
- Menu: Access the main menu.
- Insert: Click on “Insert“.
- Page Break: In the dropdown menu, select “Page break“.
12 – Insert Link
Allows you to insert a link into the document.
- Menu: Access the main menu.
- Insert: Click on “Insert“.
- Insert Link: In the dropdown menu, select “Insert link“.
- Shortcut key: Ctrl+K or ⌘+K
Final Considerations
The docu2.me View Menu offers a range of tools that significantly enhance the user experience when working with documents in Salesforce. These functionalities allow users to customize their view to meet their specific needs, whether for detailed editing, quick review, or presentation.
Key advantages include:
- Enhanced Productivity: Tools like the minimap and zoom adjustment facilitate efficient navigation and editing.
- Flexibility: Various viewing options cater to different preferences and work needs.
- Seamless Integration: All viewing functionalities work harmoniously within the Salesforce environment.
- Precision: The ruler and source editor allow for more precise control over document layout and structure.
By effectively utilizing these viewing options, users can optimize their workflow, improve accuracy in document creation, and increase overall efficiency when working with Salesforce-integrated documents.