Practical Tutorial: Creating a Dynamic Table in docu2.me with Salesforce Data
Objective
Create a dynamic table that displays the names of the first 5 Salesforce accounts using docu2.me dynamic resources.
Step-by-Step Guide
- Initial Preparation
- Log in to your Salesforce account
- Navigate to the docu2.me application
- Click on “New Document”
- Document Structure Creation
- Create a new document:
- Insert a table:
- Position the cursor where you want to insert the table
- Click on the “Insert Table” icon in the toolbar
- Select a table with 1 column and 2 rows
- Add the header:
- In the first cell of the table, type “List 5 Accounts”
- Format the header text (bold, larger size)
3. Dataset Configuration
- Open the Resource Manager:
- Right-click on the document
- Select “Resource Manager”
- Create a new Dataset:
- In the Resource Manager popup, click “New”
- Choose the “Dataset” option
- Configure the Dataset:
- Dataset API Name: Type “List5Accounts”
- Object Name: Select “Account”
- Under “How to Filter Records”, select “None – Get all records”
- Under “How to Sort Records”, select “Not Sorted”
- Under “How Many Records”, select “Many Records”
- Set the Maximum Number of Records to 5
4. Save the Dataset:
- Review all settings
- Click “Save” or “Create Dataset”
5. Dynamic Field Insertion
- Position the cursor in the second cell of the table
- Right-click and select “Dynamic Fields”
- In “Select a Resource from global”, choose:
- Dataset: “List5Accounts”
- Field: “Account Name”
- Option: “Value”
- The field will be inserted with the syntax: {!$Dataset.List5Accounts.Name.Value}
6. Preview and Testing
- Save the document:
- Click the “Save” button in the docu2.me menu
- Preview the document:
- Click the “Print” button in the toolbar
- This will open a new window with the PDF preview
- Check the dynamic table:
Final Result
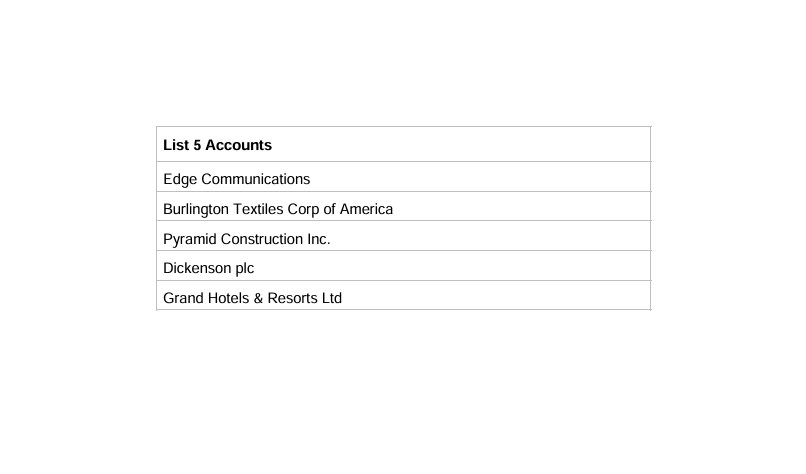
A table with two rows:
- First row: Header “List 5 Accounts”
- Second row: Dynamic list with the names of the first 5 Salesforce accounts
Functionality:
- The account list will automatically update with changes in Salesforce data
- The document will always show the first 5 accounts as defined in the Dataset
Resources Used
- Resource Manager: To configure dynamic resources such as Datasets
- Dataset: To configure the query for Salesforce account records
- Dynamic Fields: To insert Salesforce data into the document
Important Notes
- This example demonstrates the basic integration between docu2.me and Salesforce.
- The Dataset can be customized with specific filters and sorting.
- Additional fields can be included beyond the Account Name.
- Table formatting can be adjusted as needed.
- The limit of 5 records is an example and can be adjusted.
- The table content updates automatically with changes in Salesforce.
- It’s important to test the document with different datasets.
This tutorial provides a foundation for working with dynamic resources in docu2.me integrated with Salesforce, allowing you to create customized and automated documents.