Toolbar Tools
Explore the docu2.me toolbar and master the art of text editing! Format, organize, and personalize your documents with ease and speed.

The docu2.me toolbar offers a complete set of formatting and editing tools, allowing you to customize your documents with agility and precision.
1 – Essential Controls
Master the basic editing functions with Undo, Redo and Print, and customize the look of your text with Header and Font Family options.

1.1 – Undo, Redo, and Print
Explore the essential tools to control your text edits.

- The Undo function allows you to revert the last action performed, such as deletions, insertions, or formatting, while Redo restores an action that was undone, allowing you to move back and forth in your edits.
- Use the Print option to generate a hard copy of your document, with options to configure the printer, number of copies, and pages to be printed.
More information:
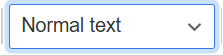
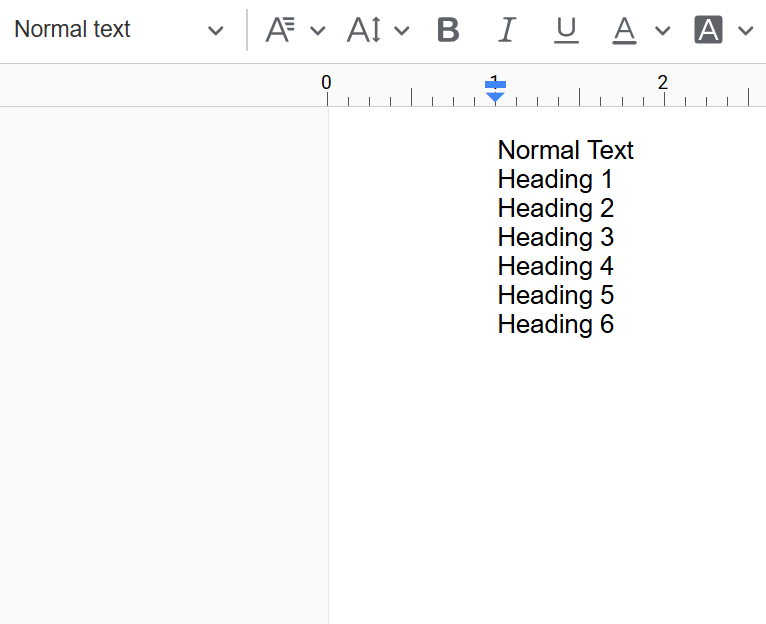
1.2 – Heading
Enhance the style of your text with Heading formatting options, which allow you to organize content into hierarchical levels (Heading 1, Heading 2, etc.), defining the importance and structure of your text.
More information:
1.3 – Font Family
Use the Font Family tool to choose from a variety of typographic styles to customize the look of your document, such as Arial, Times New Roman, Verdana, and many others. Choose the font that best suits the tone and style of your document.
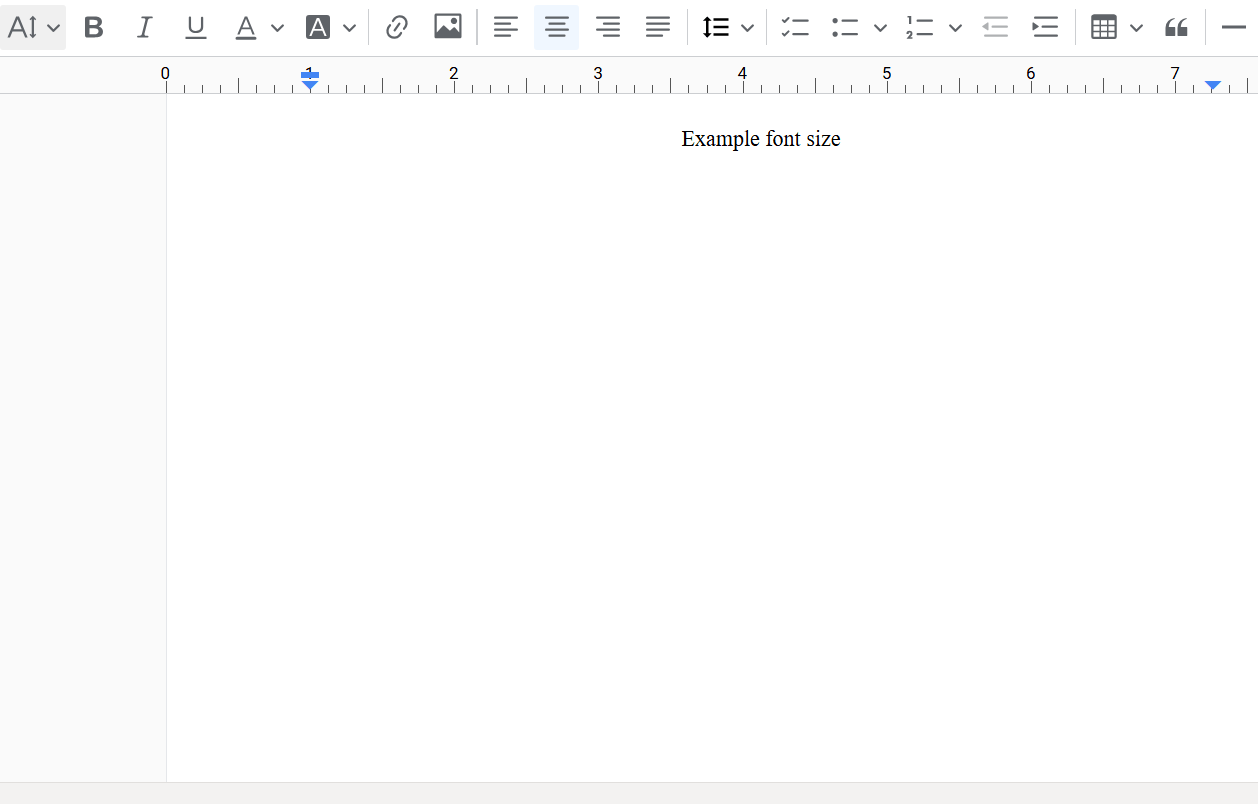
1.4 – Font Size
Adjust the Font Size to ensure readability and visual impact of your text, choosing between small sizes for notes and comments, or larger sizes for titles and highlights.
8 – Dynamic Resources
Use Dynamic Fields, Filter Block and Resource Manager to integrate Salesforce data and create custom documents.

8.1 – Dynamic Fields
Insert Dynamic Fields that are automatically populated with Salesforce data, such as object, user, and system information. This allows you to create custom documents with specific data for each record, such as contact name, account name, date, and other relevant information.

More information:
8.2 – Filter Block
Filter Block Salesforce data based on specific criteria to display only relevant information in your documents. This allows you to customize document content according to the needs of each situation, displaying only information that meets the defined criteria.

More information:
8.3 – Resource Manager
Access and manage resources such as Callables, Datasets and Variables to create dynamic and customized documents. Use Callables to execute Apex code and access custom information, Datasets to fetch data from Salesforce objects and Variables to store and reuse information in your document.

More information:
Key Benefits
- Quick Access: Essential tools readily available for efficient editing
- Visual Organization: Easy-to-use options for structuring document layout
- Salesforce Integration: Dynamic resources for incorporating Salesforce data
- Customization: Diverse formatting options for tailored document appearance
- Efficiency: Streamlined editing process with intuitive toolbar layout
Final Considerations
The docu2.me Toolbar offers a comprehensive set of tools that significantly enhance the document creation and editing experience within the Salesforce environment:
- Seamless Integration: Access powerful editing tools without leaving Salesforce
- Productivity Boost: Quick formatting and insertion of elements save time
- Professional Output: Create polished, well-structured documents effortlessly
- Dynamic Content: Incorporate live Salesforce data into documents
- User-Friendly Interface: Intuitive toolbar layout for easy navigation
By effectively utilizing these toolbar tools, users can create high-quality, customized documents that seamlessly integrate with their Salesforce data and workflows. This integration of robust document editing capabilities within Salesforce represents a significant advancement in CRM document management, allowing for more efficient, accurate, and visually appealing document creation.