Text Formatting in Docu.2me
Both the toolbar and the “Tools – Format” menu in Docu.2me offer a variety of options to customize the appearance of your text, similar to those found in popular applications like Google Docs, Microsoft Word, and other WYSIWYG editors.
This guide details each available formatting function, explaining its use and providing practical examples.
1 – Text
The text formatting options allow you to style your text to emphasize it and improve readability.
- Menu: Access the main menu.
- Format: Click on “ Format“.
- Text: In the dropdown menu, hover “ Text“.
1.1 – Bold
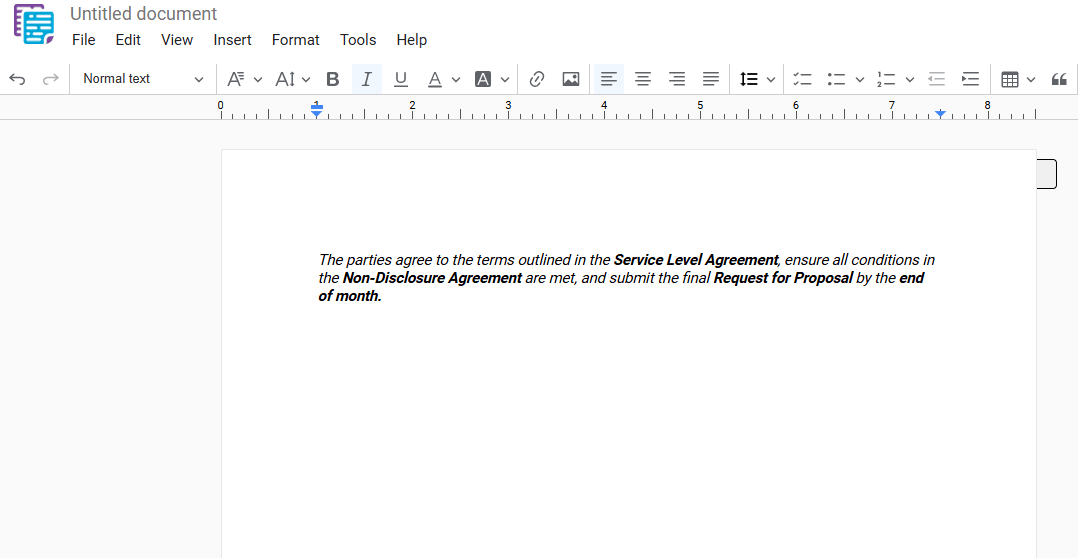
Applies a bold style to the selected text, making it stand out and easier to identify. To apply this formatting, select the desired text and use one of the following options:
- Bold: In the dropdown menu, select “ Bold“.
- Shortcut key: Ctrl+B or ⌘+B
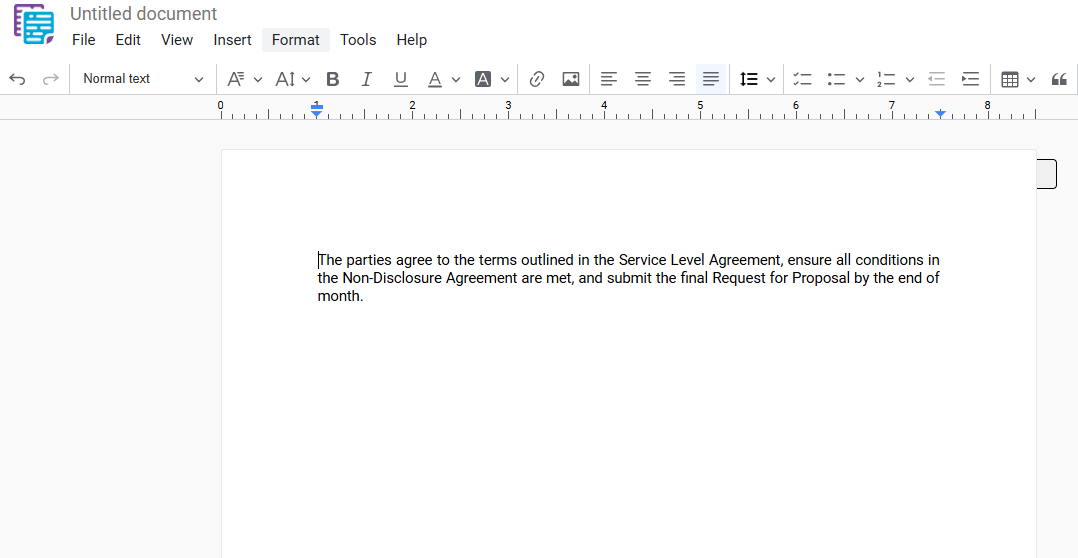
Example:

1.2 – Italic
Applies an italic style to the selected text, giving it a slight slant and differentiating it from regular text. To apply this formatting, select the desired text and use one of the following options:
- Italic: In the dropdown menu, select “ Italic“.
- Shortcut key: Ctrl+I or ⌘+I
Example:

1.3 – Underline
Applies an underline style to the selected text, adding a horizontal line beneath the text. To apply this formatting, select the desired text and use one of the following options:
- Underline: In the dropdown menu, select “ Underline“.
- Shortcut key: Ctrl+U or ⌘+U
Example:

1.4 – Strikethrough
Applies a line through the middle of the selected text, indicating that it is incorrect, has been removed, or is no longer valid. To apply this formatting, select the desired text and use one of the following options:
- Strikethrough: In the dropdown menu, select “ Strikethrough“.
- Shortcut key: Ctrl+Shift+X or ⌘+Shift+X
Example:

1.5 – Superscript
Raises the selected text above the baseline, commonly used for exponents, footnotes, or other annotations. To apply this formatting, select the desired text and use one of the following options
- Superscript: In the dropdown menu, select “ Superscript“.
- Shortcut key: Ctrl+. or ⌘+.
Example:

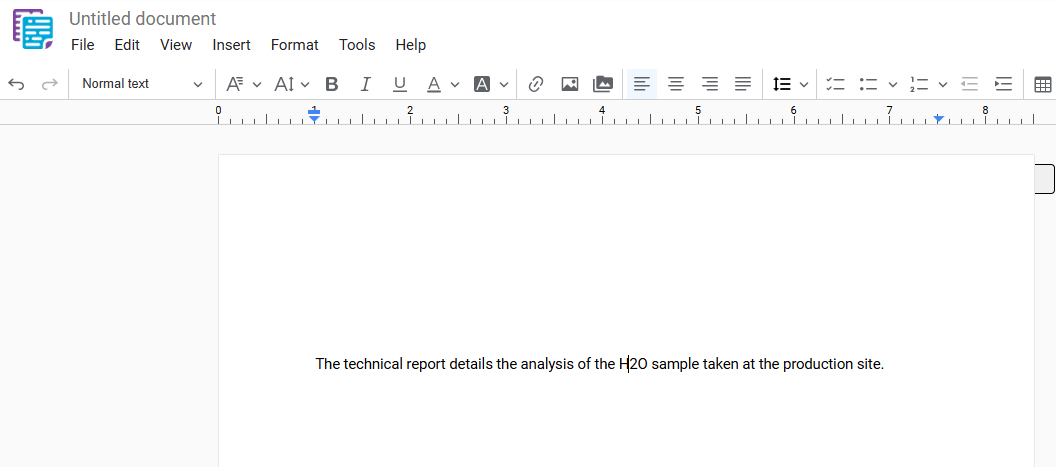
1.6 – Subscript
Lowers the selected text below the baseline, commonly used in chemical formulas, mathematical expressions, or other notations. To apply this formatting, select the desired text and use one of the following options:
- Subscript: In the dropdown menu, select “ Subscript“.
- Shortcut key: Ctrl+. or ⌘+.
Example:
1.7 – Size
Increases or decreases the font size.
- Size: In the dropdown menu, hover “ Size“.
1.7.1 – Increase Font Size
Increases the font size of the selected text. To apply this formatting, select the desired text and use one of the following options:
- Increase Font Size: In the dropdown menu, select “Increase Font Size“.
- Shortcut key: Ctrl+Shift+. or ⌘+Shift+.
Example:

1.7.2 – Decrease Font Size
Decreases the font size of the selected text. To apply this formatting, select the desired text and use one of the following options:
- Decrease Font Size: In the dropdown menu, select “Decrease Font Size“.
- Shortcut key: Ctrl+Shift+, or ⌘+Shift+,
Example:
2 – Paragraph Styles
Paragraph styles help organize text into hierarchical levels, making the document easier to read and structure.12 To apply a paragraph style, select the desired text and use one of the following options:
- Menu: Access the main menu.
- Format: Click on “ Format“.
- Paragraph Styles: In the dropdown menu, hover “ Paragraph Styles“.
2.1 – Normal Text
Defines the default document text, without heading formatting.
- Normal Text: In the dropdown menu, select “ Normal Text“.
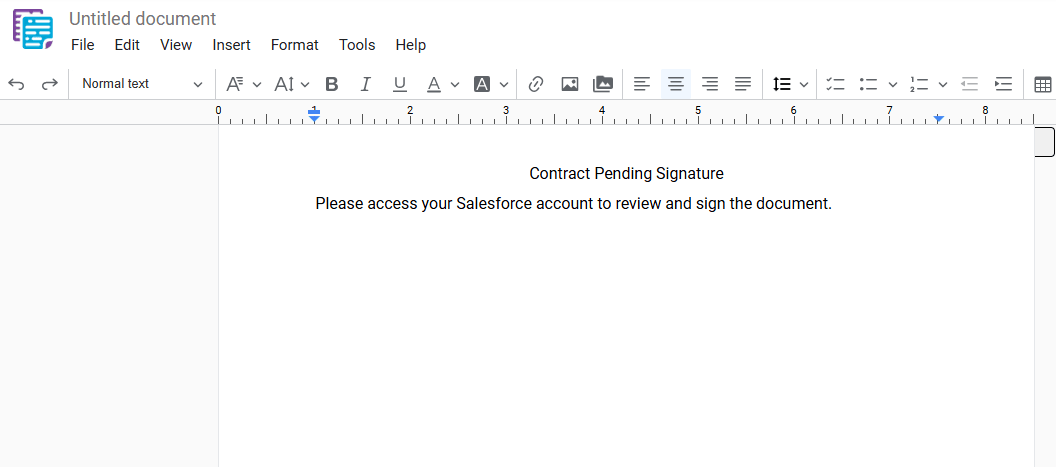
2.2 – Heading 1
Used for the main title of the document.
- Heading 1: In the dropdown menu, select “ Heading 1“.
2.3 – Heading 2
Used for main subtitles.
- Heading 2: In the dropdown menu, select “ Heading 2“.
2.4 – Heading 3
Used for secondary subtitles.
- Heading 3: In the dropdown menu, select “ Heading 3“.
2.5 – Heading 4
Used for third-level subtitles.
- Heading 4: In the dropdown menu, select “ Heading 4“.
2.6 – Heading 5
Used for fourth-level subtitles.
- Heading 5: In the dropdown menu, select “ Heading 5“.
2.7 – Heading 6
Used for fifth-level subtitles.
- Heading 6: In the dropdown menu, select “ Heading 6“.
Example 1:
Example 2:
3 – Align & Indent
The alignment and indentation options help organize the text within the document, providing a more structured and professional appearance. To apply an alignment or indentation style, select the desired text and use one of the following options:
- Menu: Access the main menu.
- Format: Click on “ Format“.
- Align & Indent: In the dropdown menu, hover “ Align & Indent“.
Alignment Options:
3.1 – Left
Aligns the text to the left margin.
- Left: In the dropdown menu, select “ Left“.
- Shortcut key: Ctrl+Shift+L or ⌘+Shift+L
3.2 – Center
Centers the text on the page.
- Center: In the dropdown menu, select “ Center“.
- Shortcut key: Ctrl+Shift+E or ⌘+Shift+E
3.3 – Right
Aligns the text to the right margin.
- Right: In the dropdown menu, select “ Right“.
- Shortcut key: Ctrl+Shift+R or ⌘+Shift+R
3.4 – Justify
Justifies the text, aligning it evenly to both the left and right margins.
- Justify: In the dropdown menu, select “ Justify“.
- Shortcut key: Ctrl+Shift+J or ⌘+Shift+J
Example:
Indentation Options:
3.5 – Increase Indent
Increases the paragraph indentation, moving it to the right.
- Increase Indent: In the dropdown menu, select “ Increase Indent“.
- Shortcut key: Ctrl+] or ⌘+]
3.6 – Decrease Indent
Decreases the paragraph indentation, moving it to the left.
- Decrease Indent: In the dropdown menu, select “ Decrease Indent“.
- Shortcut key: Ctrl+[ or ⌘+[
Example:

4 – Clear Formatting
Removes all formatting applied to the selected text, returning it to the document’s default style. To apply this action, select the desired text and use one of the following options:
- Menu: Access the main menu.
- Format: Click on “ Format“.
- Clear Formatting: In the dropdown menu, select” Clear Formatting“.
- Shortcut key: Ctrl+\ or ⌘+\
Example:
More information: